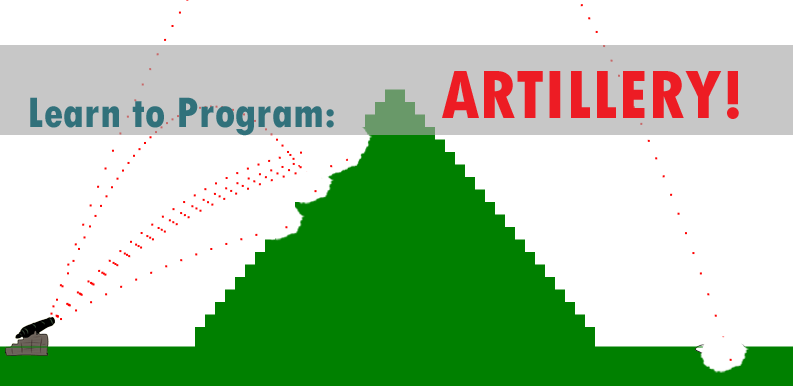
For this installment of Artillery, we will add collision detection and an image indicating where the projectile impacted. Collision detection is simply measuring where our projectile lands and determining if some other object, like the ground or a mountain, also occupies that space.
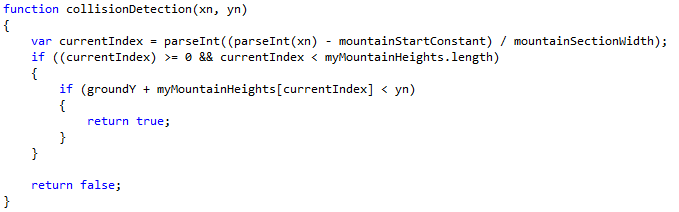
In Learn to Program Artillery! II we updated the Environment function to render a mountain in the middle of our canvas and stored the heights in an array called myMountainHeights. We will now use this array to determine if our projectile has impacted the mountain. To do this we will start by adding a new function to the javascript name collisionDetection. The collisionDetection will accept 2 parameters xn and yn and return a true if the projectile is touching the mountain or false if it is not.. As you know from the first article, xn is the horizontal position of our projectile and yn is the vertical position.
The first step in determining if we have a collision is to determine if the projectile is in range of our mountain. Remember when we created the code for the mountain we created a variable called mountainStartX that we used to determine the starting point of mountain. Because this variable is changed during the drawing process we will create a new variable named mountainStartConstant to keep the starting value of the mountain.
![]()
This is important because we need this information to determine when our projectile enters the range of the mountain height array. We determine this using the following formula:
((xn – mountainStartConstant) / mountainSectionWidth)
Where xn is the horizontal position of the projectile, mountainStartConstant is the starting point of the mountain, and mountainSectionWidth determines how many sections of the mountain there are. We define the answer of this formula to be a variable named currentIndex. It looks like this.
![]()
You will notice a new function in this bit of code – parseInt is a javascript function that allows us to convert strings, floats and other compatible objects to integers.
Next, we need to check that currentIndex is greater than -1 and less than the length of myMountainHeights. If currentIndex falls between these numbers we need to determine if our vertical position is lower than the height of the mountain section defined in myMountainHeights. To do this, we use the following formula:
groundY + myMountainHeights[currentIndex] < yn
Remember from Learn to Program Artillery! II that we recorded a negative value that would render the section according the startY – the height (0 being the top of the screen). So if yn is greater than the value returned + groundY, then we know the projectile is inside the mountain so we should draw an impact image and the function should return true. If the yn is less than groundY + the returned value then the function should return false. The function should look like this:
So what does all this do? It lets us determine when a projectile is intersecting the mountain. By determining that the y value of the projectile is lower than then y value of the mountain, we have determined that the path of our projectile intersects the mountain. This is illustrated by the blue path.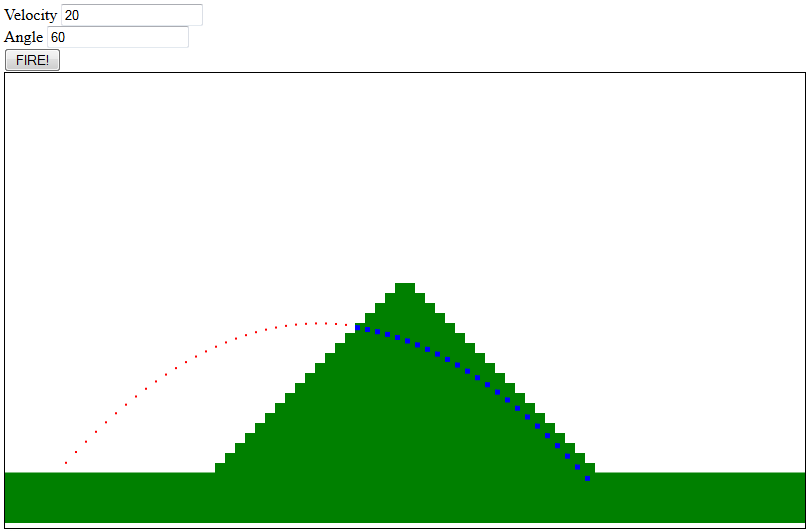 Next we will create the function to draw the impact. I created a function for this because it is used in 2 places in the code – once in the preceding function and again in animateBox where we determined if the projectile hit the ground in the first article of this series.
First we need to add an image tag to the HTML to hold our impact crater image.
![]()
Then we create drawImpact which is a very simple function. We pass it the x and y coordinates and use those coordinates to draw an image named impactHole that we will add to the html.

You can find a reference for context.drawImage here that explains all the parameters in detail but for our purposes we used the following.:
Img references the image in the HTML
Since the image is 30, xn-15 offsets the image so it is roughly centered where the projectile would impact
yn-15 offsets the vertical axis in the same way
The last 2 parameters of context.drawImage determine the height and the width of the image drawn on the canvas.
Now we should be able to view the webpage and enter 20 for velocity and 60 for the angle and have the page render something that looks like this: 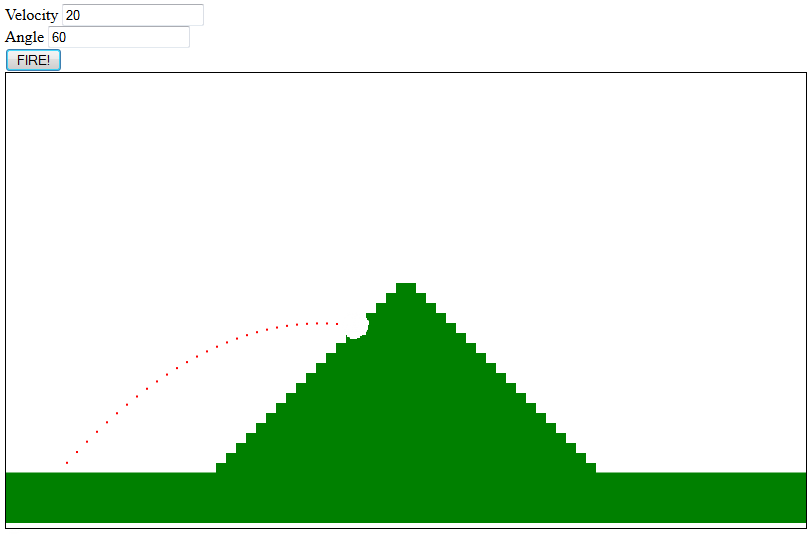
Thanks for taking the time to read this tutorial. If you have any questions please leave a comment below. As always you can view the complete source code here or view the page here. I’d also like to hear if you have any suggestions for improvement. In the next installment we will render a canon and a target, and randomize the positions of these objects as well as the slope of the mountain.
If you found this post interesting and are following along with our tutorial take a moment to click the ‘Like Us’ button and sign up for our newsletter in the sidebar.