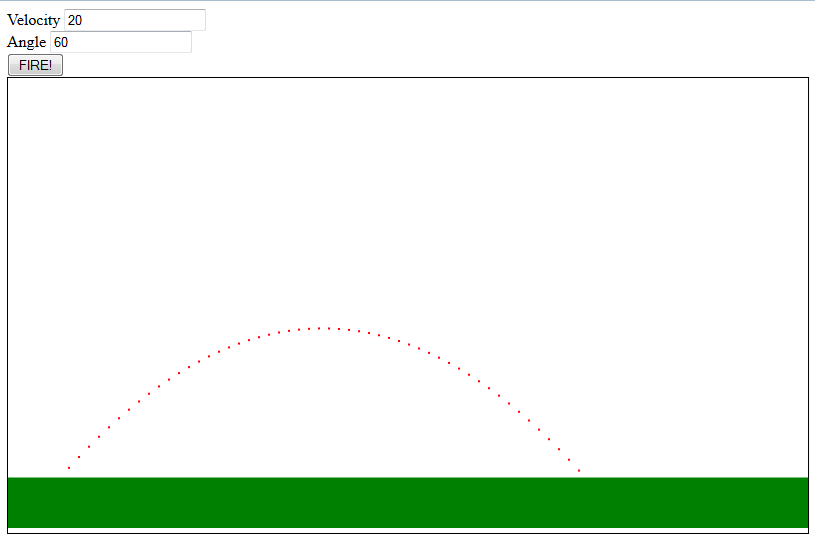
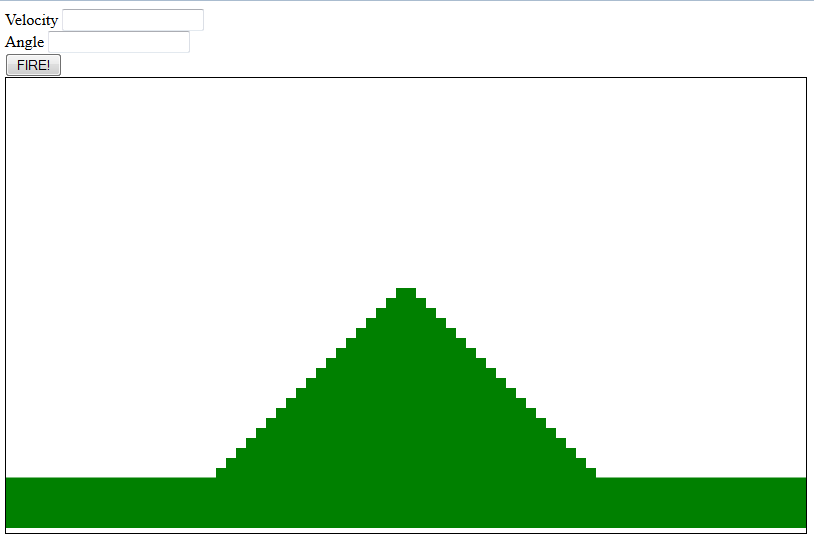
In our last post Learn to Program Artillery we left off with entering a velocity, an angle and the “Fire” button. The code would draw an arc on the screen based on these parameters. This time we will add a mountain to shoot over (or through until we do collision detection in the next post).
To create a mountain, we will use an array to store the heights of the rectangles that make up the mountain. What is an array? An array is an indexed list of objects all of the same type. In our case, it is an indexed list of numbers that represent rectangle heights (myMountainHeights) that we will use to draw the mountain. In javascript this variable is declared as follows:
There are a couple ways we can populate this array. One way would be to populate every number by hand like this:
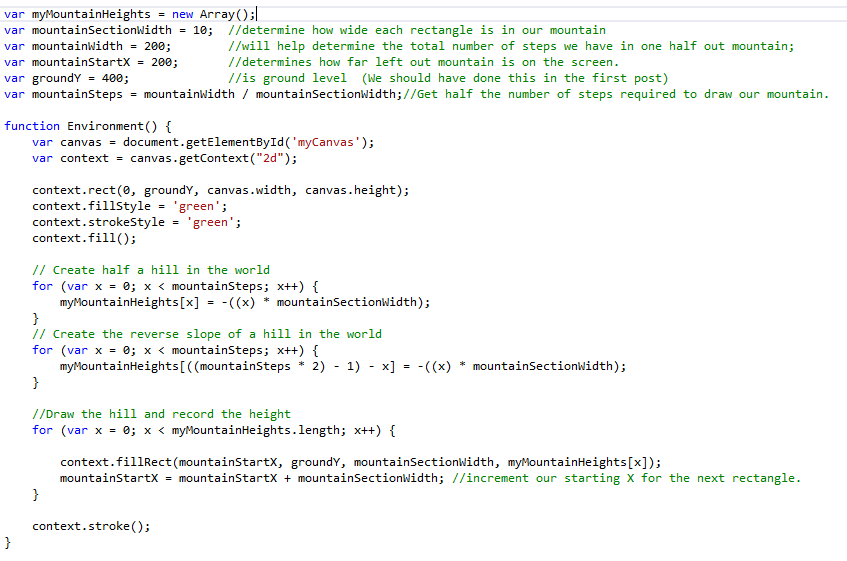
That is fine for small arrays, but if we decide to have 200 sections in our mountain, I would rather have the computer fill them in. But before we do that, lets also go ahead and set some more variables.
By setting these variables now, we will save time later when we decide the make the mountain wider, or make each section smaller.
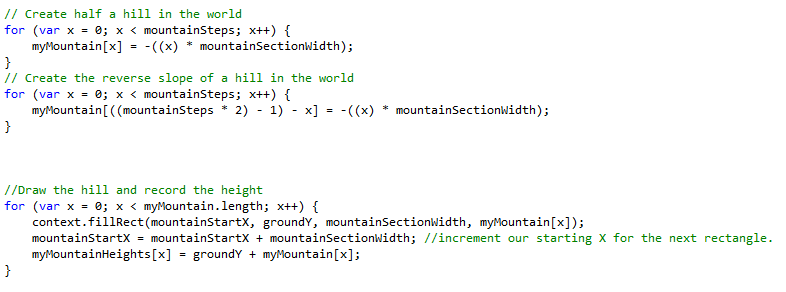
So now we are ready to write the code to populate our array. For our first mountain design lets make a pyramid.
By placing the variables above the environment function and inserting the code inside the environment function we should end up with something like this:
When you refresh the html page you should see a mountain that looks like this:
If we were to print out the values in the array that were used to draw the mountain they would look like this:
So what do all these numbers mean? The column on the left is the index on the array that we use to look up the value. The second number is used to draw the rectangle on the screen and represents the distance from the ground to the top of the rectangle. (Remember from the first post that our ground is 400 and the top of the screen is 0. So for an item to be higher than the ground we have to subtract the rectangle height from 400. To do this we are adding the negative of the rectangle height.).
You can view the complete source code or view the Artillery page here. If you have any questions, please leave a comment below. I’d also like to hear if you have any suggestions for improvement. In the next installment we will be adding collision detection.
If you found this post interesting and are following along with our tutorial take a moment to click the ‘Like Us’ button and sign up for our newsletter in the sidebar.
