We recently bought a Printrbot Simple Metal 3D printer to use around our home office. I learned about this printer from Scott Hanselman and his 3D printer shootout. Having limited experience using printers (I also have access to a Cubify printer.) I was a little intimidated by the initial setup process. So as a first post about 3D projects that we will use in our homeschool, I want to help others set up their machines so that they can follow along.
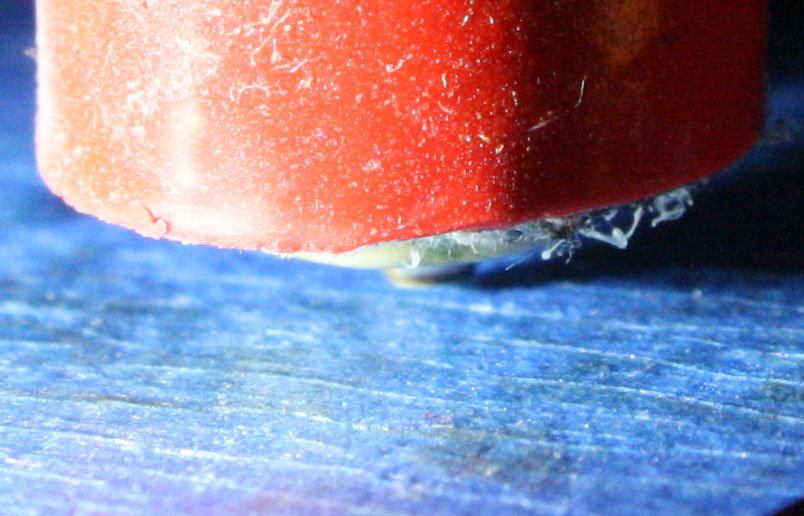
If you have a different printer your mileage may vary. But here is the way I set ours up. Before you do anything, please read the manual and instructions that come with your printer. Now that you have read your instructions let me show you how I adjusted the Z axis on my printer. Grab a flashlight and hold it so that you can see the shadow cast by the nozzle on you printer. Like this:
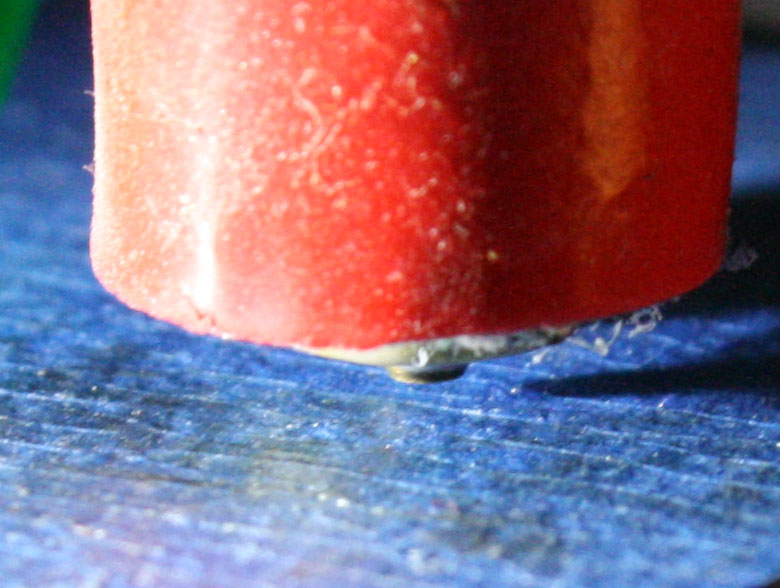
Slowly move down the nozzle until it just touches the bed. You will know it when the shadow and the nozzle tip meet.
Next you are going to want to adjust the sensor till it is resting on the little back tab that Printrbot provided. You do this by loosening the nuts that hold the sensor in place. Let the sensor rest on the black tab and then tighten them back. I used my fingers and a small adjustable wrench. Snug works best. Don’t over tighten them. I didn’t use the laser cut ones that came with my printer only because they wouldn’t fit on the nuts. Next put blue tape on your printer bed. I use the 3M blue tape that is 1.88″ wide. Be careful to not overlap the pieces and rub out any bubbles. I then usually put down a thin layer of glue stick. On small projects it works really well. One big items it makes it hard to remove the build without breaking it. But you don’t end up with a big glob of plastic sliding around under your print nozzle.
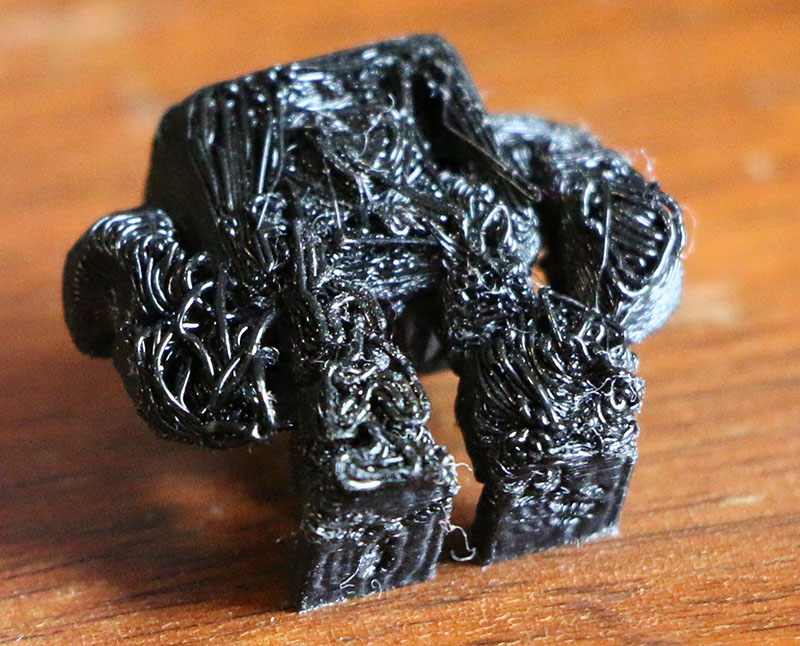
Now we are to the printing part. Following the instructions with your printer to set the Z alignment. The instructions on the printrbot simple metal are here. Just remember. You have to have the printer connected to the computer, and a stl file loaded for the icon to change. When I did this step I was overly cautious. This is not a bad thing. If you set the head to low you can damage the nozzle and your printer bed. I started mine off @ zero following the steps on the printrbot site. By printing many 3mm test blocks I was able to get a nice smooth surface on the side that is in contact with the bed. Don’t be afraid to cancel the print job and start over if it doesn’t stick or looks stringy. This is what I ended up with once I had dialed it in.
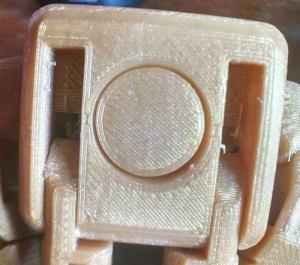
Compared to this, where I started out.
Hopefully this helps you save some time and frustration while setting up your printer. It took me 3 nights to get mine to an acceptable point. Then next challenge is understanding modelling and how to make a model that will print well in Sketchup.